 Formist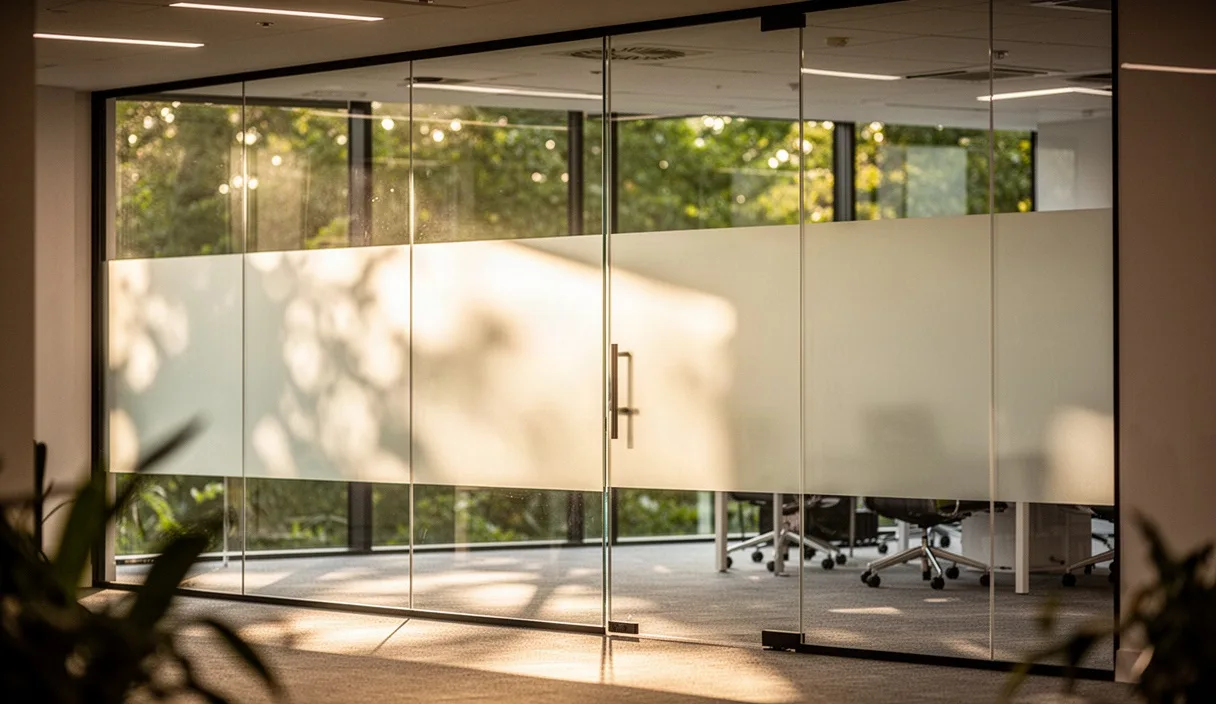

Architectural glass creates spatial depth. It also complicates visual communication. A sign fixed to a transparent panel must compete with objects, people, and shifting light behind it. When the space on the other side is active, standard typography quickly loses legibility.
Modular signage systems solve this challenge through controlled opacity and standardized fixings. They allow facility teams to replace names, room numbers, and directional inserts without replacing the glass. The installation requires attention to surface chemistry, thermal absorption, and structural deflection. A systematic approach prevents costly damage to tempered panes and keeps information legible throughout the working day.
Assessing transparency against busy backgrounds
Glass partitions let light travel deep into interior floorplates. This transparency causes visual noise when occupants view signs against moving shadows, corridor traffic, or open workstations. Legibility depends on the luminance contrast between the graphic and the field of view directly behind it. When the background shifts from dark timber joinery to bright outdoor glazing, a fixed typographic color cannot perform consistently on clear glass alone.
A sign mounted to clear low-iron float glass requires an intentional backer or an opaque mid-layer. Direct surface printing onto glass with 70 percent visual light transmission fails accessibility evaluations when interior illuminance falls below 150 lux. The eye seeks an edge. Without an opaque field behind the character, the human eye strains to separate letterforms from desks, monitor glow, and pedestrian movement ten feet away.
Contrast measurements must occur at three distinct times of day. Morning light creates sharp angles and directional glare. Midday brings ambient fill that washes out light-toned typography. Evening interior illumination turns clear partitions into dark, semi-reflective surfaces. Measuring reflected lux values with a calibrated light meter clarifies the contrast deficit before fabrication begins. Aim for an optical contrast ratio of 4.5 to 1 between the character and its direct backing plane under all ambient states.
| Partition condition | Transmittance rate | Ambient light range | Recommended backer treatment |
|---|---|---|---|
| Clear monolithic float | 88 percent | 200 to 500 lux | Solid opaque backplate with 2 mm perimeter border |
| Low-iron acoustic laminate | 91 percent | 100 to 300 lux | Two-layer frosted carrier with 85 percent white fill |
| Acid-etched translucent | 62 percent | 150 to 450 lux | Direct face mount with high-density pigment foil |
| Smoked or tinted pane | 38 percent | 75 to 250 lux | Positive white plate or front-lit active insert |
Substrate options for double-sided markers
Meeting rooms bounded by glass require information on both faces. The marker must state the room name to the corridor and display emergency or occupancy data to the interior. Because both faces share a single optical plane, internal bleed-through compromises both messages. A thin blocking layer is mandatory inside the modular assembly.
Anodized aluminum extrusions provide structural rigidity at low thicknesses. A 3 mm profile can house two independent printed message cards separated by an internal steel or composite blocker. Aluminum resists environmental humidity, does not warp under direct solar load, and creates crisp, mechanical edges. Chemically matte anodized coatings in natural silver or dark bronze eliminate distracting surface reflections around the text perimeter.
Extruded polymethyl methacrylate (PMMA), commonly called acrylic, offers a lighter alternative. Cast acrylic panels machined with inset pockets allow thin faceplates to drop into place using hidden micro-magnets. To prevent light passing between the two sides, fabricators laminate a 0.25 mm carbon-filled vinyl barrier between two layers of acrylic. This barrier must remain dead-flat. Any wave in the central foil creates distorted reflections across the transparent margins of the sign face.
| Substrate material | Thickness | Unit weight | Mounting method | Primary benefit |
|---|---|---|---|---|
| Anodized 6063-T6 aluminum | 3.2 mm | 8.7 kg per sq m | Modified structural acrylic tape | Total opacity and sharp physical edges |
| Cast acrylic with carbon core | 4.5 mm | 5.4 kg per sq m | Optically clear pressure tape | Internal depth without shadow fringing |
| Porcelain-enameled steel | 1.8 mm | 14.2 kg per sq m | Countersunk mechanical standoffs | High scratch resistance and magnetic updates |
| Brushed 316 stainless steel | 2.0 mm | 15.8 kg per sq m | High-bond tape with perimeter primer | Inert response to commercial cleaning agents |
Applying films to heat-treated glass panes
Applying graphics to fully tempered or heat-strengthened glass introduces thermal considerations. Glass absorbs heat when covered by dark, opaque materials. If a dark modular sign covers a section of a pane exposed to direct sunlight, that section expands faster than the exposed perimeter. This temperature delta generates localized tensile stress. When thermal stress exceeds 40 megapascals on an annealed float edge, the pane fractures. Heat-treated glass tolerates higher differentials, but edge imperfections reduce this margin.
Consult a structural glazing consultant or facade engineer if the target partition receives exterior sun exposure. Keep graphic backplates to light, reflective tones such as white, light gray, or brushed aluminum to minimize localized thermal loading. For interior partitions insulated from solar radiation, thermal fracture risks remain negligible, but adhesive behavior changes based on temperature swings driven by mechanical HVAC registers.
Field installations demand systematic cleanliness. Airborne particulate forms permanent voids between carrier films and the float surface. Follow these sequential steps to bond films and backplates securely without trapped debris or adhesive failure:
- Isolate the local air supply. Turn off overhead fan coil units or diffusers within a 4-meter radius 30 minutes before installation to let airborne lint settle.
- Clean the glass pane with a 70 percent isopropyl alcohol and 30 percent demineralized water mixture. Avoid household glass cleaners containing silicone oils or ammonia, which leave microscopic barrier residues.
- Scrape the contact zone with a fresh, unnotched stainless steel razor held at a 30-degree angle. This removes stubborn paint mist, tape adhesive, and silicone splatter.
- Wipe the area dry using a lint-free non-woven microfiber textile. Work in overlapping strokes moving strictly from top to bottom.
- Map the location using low-tack paper masking tape as an exterior reference perimeter. Do not use chalk, wax pencils, or solvent-based ink markers on the final bonding surface.
- Peel the release liner from the structural adhesive strip. Expose no more than 50 mm of adhesive length at a time to prevent premature tack.
- Align the sign frame to the registration marks. Make initial contact along one vertical edge to control the line of touch.
- Apply continuous pressure using an edge roller rated at 35 Shore A hardness. Move downward at a steady speed of 25 mm per second to exhaust trapped air along the bond path.
- Maintain a minimum sustained dwell pressure of 140 kilopascals across the tape contact line for 15 seconds to initiate the cross-linking of the acrylic adhesive core.
Standard mounting heights for glass partitions
Accessibility standards specify sign placement to ensure legible reading distances and tactile access for wheelchair users and ambulatory individuals alike. When mounting hardware to drywall, technicians drive anchors into internal studs. On glass, there is no internal cavity. The sign body, adhesive line, and backplate align along a single floating plane. The placement must satisfy spatial access codes while matching horizontal interior architecture lines such as transoms, mullions, and door hardware.
For tactile and Braille components, international accessibility guidelines typically require the baseline of the lowest raised character to sit at least 1200 mm above the finished floor surface. The baseline of the highest raised character must not exceed 1500 mm above the finished floor surface. A practical, compliant centerline height for architectural room identification plates is 1370 mm from the floor plane. This position allows easy palm access for touch reading without requiring tall individuals to crouch or seated individuals to reach above shoulder height.
Horizontal positioning requires equal discipline. Mount room signs adjacent to the latch side of the door. Maintain an offset distance between 50 mm and 100 mm from the outermost edge of the door frame mullion to the leading edge of the sign panel. This placement prevents the door leaf from striking the sign frame when opened to its full swing. It also provides a predictable location for visually impaired visitors who follow the door frame downward with their hands to locate room identification markers.
Do not fix tactile signs directly onto a door leaf unless the door swings inward automatically and has no hold-open latch. In fully glazed office fronts with sliding doors, mount the modular sign on the fixed glazed return pane directly beside the slide opening. When partitions feature a structural silicone glazed (SSG) joint, set the sign back at least 75 mm from the flexible sealant line. Placing rigid brackets across a silicone movement joint transfers partition deflection forces into the sign body, causing the adhesive to shear over time.
Clean removal methods during office updates
Office spaces experience regular organizational churn. Modular systems allow nameplates to slip out from aluminum or polymer extrusions without tools. When entire suites get reconfigured, workers must strip the structural base brackets, frames, and adhesive carriers from the glass partitions. The removal process must return the pane to its virgin state without scratching the glass surface or breaking the glass.
High-bond structural acrylic foam tapes (such as viscoelastic acrylic cores) do not release with a simple pull. Attempting to pry a metal frame off a glass pane with a screwdriver or stiff putty knife concentrates leverage onto a tiny contact point. This localized point load readily shatters fully tempered glass panes. The correct removal approach uses tensile shearing along the adhesive plane combined with controlled thermal softening.
The step-by-step mechanical release procedure requires specific gear and hand control:
- Warm the exterior metal casing using a variable-temperature industrial heat gun set to 60 degrees Celsius. Keep the nozzle 150 mm from the glass and sweep constantly in broad circular paths for 90 seconds. Do not exceed 70 degrees Celsius on the glass face, as sudden local thermal spikes can stress edge seals in double-glazed units.
- Thread a 400 mm length of braided polyethylene fishing line (rated for at least 25 kg breaking strength) behind the top corner of the modular backplate. High-strength polymer dental floss also works for low-mass plates.
- Grip the ends of the line using wooden dowel handles. Do not wrap high-tension line around bare fingers.
- Draw the line downward behind the sign frame in a rhythmic, back-and-forth sawing motion. Keep the line pressed firmly against the metal backplate rather than against the glass surface to prevent line friction from leaving polymer deposits on the float face.
- Slice through the acrylic foam core down the entire length of the component until the frame separates from the partition. Catch the falling sign body with your free hand.
- Soften the remaining adhesive foam residue on the glass with an application of technical-grade citrus-terpene solvent or mineral spirits. Allow the solvent to penetrate the cross-linked foam matrix for 4 to 6 minutes.
- Shave the softened foam from the glass using an ergonomic safety scraper equipped with a fresh carbon steel blade. Hold the blade strictly flat at a 20-degree angle to the surface. Never pull the blade backward across the stroke, as trapped grit can scratch the glass.
- Wipe the stripped area with an alcohol-saturated cloth until the glass shows no halo under glancing light.
Common mistakes
Avoid fixing rigid sign plates over pre-existing window manifestation films. Window films use pressure-sensitive adhesives designed to hold light polyester sheet material against the glass. These adhesive layers lack the shear strength required to carry the cantilevered load of an aluminum or glass sign tray. Over time, the weight of the sign pulls the manifestation film downward, producing unsightly adhesive creep, air tunnels, and ultimately total detachment of the fixture.
Do not use standard silicone sealants as the primary mounting adhesive for glass-mounted signs. Acetoxy-cure and neutral-cure silicones exhibit slow curing profiles when trapped between two non-porous surfaces. Because neither glass nor an aluminum backplate can breathe, moisture required for the silicone curing reaction cannot penetrate the interior mass of the bead. The sign may slide out of alignment days after installation, leaving wet silicone smears across the face of the partition.
Never mount dissimilar metals in direct contact when designing custom exterior modular assemblies on glass. An aluminum frame secured with bare carbon steel screws creates a galvanic couple when condensation or cleaning fluids collect between the hardware components. Galvanic corrosion stains the glass surface with permanent oxide deposits that etching chemicals cannot remove. Specify passivated 316 stainless steel fasteners and nylon isolator washers whenever assembling structural frame hardware on architectural glass.
Practical next steps
Audit existing glass partitions before specifying hardware profiles. Measure partition thickness with an ultrasonic glass gauge to confirm whether panels are monolithic, tempered, or laminated acoustic units. Laminated panels contain a soft polyvinyl butyral (PVB) interlayer that responds differently to localized surface deflection and vibration. If partition specifications, structural loads, or edge conditions are unknown, consult a qualified glazing contractor before mechanical installations begin.
Order physical sample mockups that include the internal backer, frame, and printed visual insert. Review these mockups directly on the target partitions under morning, noon, and evening interior lighting conditions. Verify that contrast ratios meet local accessibility mandates across all three timeframes. Create a digital hardware schedule that notes exact centerline dimensions, door offsets, and adhesive tape batch numbers for every sign tier within the spatial system.