 Formist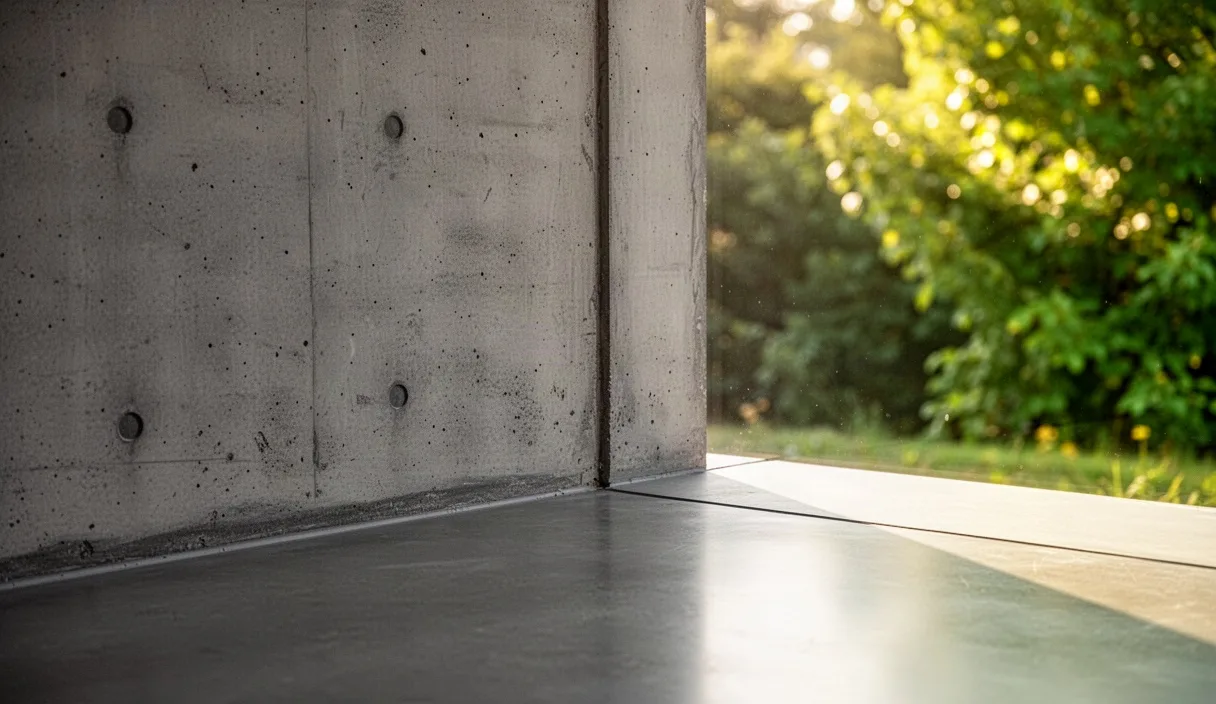

Small galleries rely on the boundary wall to set viewing rhythm. Concrete provides mass, plane continuity, and neutral tone. It also brings physical limits. In rooms under eighty square meters, wall finish controls both luminance and background noise. The choice between a diamond-ground aggregate and an off-shutter board-form plane changes how work reads across short sightlines.
Every aggregate mix interacts with artificial light. Raw unpainted concrete stays vulnerable to surface damage from hardware changes between rotations. Managing these physical realities requires clear specifications before art enters the room. Good installation starts with material measurement.
Surface roughness and light bounce
Surface texture dictates the distribution of reflected lumens. The International Concrete Repair Institute classifies texture through Concrete Surface Profile benchmarks. Small rooms perform best between CSP 1 and CSP 3. Higher profiles catch dust and create aggressive micro-shadows under directional fixtures.
Smooth steel-troweled concrete sits at CSP 1. It acts like a semi-specular reflector. It redirects light at an angle equal to the angle of arrival. This characteristic creates bright hot spots behind works mounted behind glazing. Acid-etched surfaces sit at CSP 2. They shear the aggregate caps and scatter incident light evenly in all directions. The visual effect softens the boundary plane.
| Finish classification | Texture rating | Light reflection character | Recommended fixture offset |
|---|---|---|---|
| Steel-troweled bare pour | CSP 1 | Directional, partial glare | 1100 mm to 1400 mm |
| Light acid wash | CSP 2 | Broad diffuse scatter | 850 mm to 1100 mm |
| Fine mechanical sandblast | CSP 3 | Flat matte scatter | 700 mm to 900 mm |
| Medium bush-hammered | CSP 4 to CSP 5 | Deep shadow occlusion | Not recommended for 2D works |
Chemical hardeners influence the light register. Lithium silicate densifiers seal porosity without leaving a top-coat film. They preserve the natural gray value of the Portland cement. Sodium silicates react differently. They leave slight white residue blooms if the installation crew fails to flush the surface with water forty minutes after application.
Penetrating sealers protect against oil transfer from visitor hands. A water-borne silane-siloxane mix keeps the matte appearance intact. It darkens the matrix by less than two percent on dry cure. Avoid wet-look acrylic topical sealers. Acrylic creates a plastic sheen that fights low-lux exhibition lighting.
Acoustic effects inside compact rooms
Concrete has an absorption coefficient near 0.02 at 500 Hertz. It turns compact galleries into reverberant chambers. A room measuring six meters by nine meters with three-meter ceilings produces standing waves between parallel planes. Mid-frequency speech reverberation times often exceed 2.4 seconds in untreated spaces. The resulting room ring strains conversation during openings.
Parallel concrete planes generate flutter echoes. Sound bounces rapidly between opposing hard surfaces. To arrest flutter without hiding the raw wall, treat the overhead plane. A spray-applied cellulose acoustic coating on the ceiling absorbs energy above 400 Hertz. Install black acoustic glass-wool batts inside an open timber ceiling baffle grid. This keeps the wall concrete exposed while dropping room reverberation down to 0.7 seconds.
Wall design can integrate hidden absorption zones. Recessed baseboards set forty millimeters deep accommodate dense rock mineral wool behind perforated steel angle brackets. The bottom perimeter of the gallery then functions as a low-profile velocity absorber. For challenging rooms with intense flutter, consult an acoustic engineer to calculate optimal room modes.
- Use porous aggregate blocks on non-display walls to raise the low-frequency absorption coefficient up to 0.28.
- Break long flutter paths by skewing non-structural dividing walls by three degrees off parallel.
- Float the timber exhibition floor on recycled rubber pads to stop structural sound transfer through the concrete floor slab.
- Install heavy wool drapes along service entryways to capture conversational spill between rooms.
Mounting hardware for unplastered masonry
Plaster repairs easily between exhibitions. Structural concrete does not. Every anchor hole drilled into raw architectural concrete leaves a permanent record. Mounting regimes must balance load capacity with mechanical reversibility.
Avoid plastic expansion plugs. They degrade under tension loads, and their nylon bodies bake into the concrete over years. When extracted, they pull conical spalls of cement paste with them. Mechanical drop-in internal-thread anchors offer a cleaner path. Brass or steel female anchors sit flush with the concrete face. When an exhibition closes, the installer unscrews the machine bolt and leaves the threaded core sealed with a color-matched grub screw.
Self-tapping masonry screws work for medium loads up to twenty-eight kilograms per anchor point. They cut threads directly into the hole wall without sideways expansion stress. This makes them safer near concrete wall corners, where expansion anchors risk splitting the edge profile.
Installing flush hardware
- Drilling the pilot pocket: Set the rotary hammer drill to stop-gauge depth plus five millimeters. Use a carbide-tipped SDS drill bit. Hold the tool perpendicular to the vertical wall face.
- Evacuating hole debris: Insert a high-efficiency particulate air-filtered vacuum nozzle over the hole. Use an air blow bulb three times to clear powdered cement. Trapped dust reduces thread engagement by thirty-five percent.
- Setting the anchor body: Thread a zinc-plated or stainless steel anchor into the clean pocket. Tap it flush using a brass drift punch to protect the perimeter concrete from hammer strike marks.
- Torque verification: Tighten the machine screw into the internal thread using a manual torque wrench. Stop at six Newton meters for an M6 anchor in thirty megapascal concrete.
For high-turnover exhibition spaces, install a horizontal continuous picture rail system at a high datum line. Cast an aluminum unistrut or an extruded steel picture rail into the concrete during formwork assembly. Alternatively, bolt a cold-rolled steel flat bar seventy millimeters down from the ceiling line. The rail carries all suspended loads on fine stainless cables. The concrete wall face remains intact through dozens of show rotations.
Directing spotlighting across textured planes
Grazing light emphasizes surface roughness. Washing light suppresses it. In an exhibition space with concrete walls, fixture position relative to the wall face defines how viewers see both the artwork and the substrate.
Mounting lighting track too close to a board-form concrete wall creates deep horizontal shadows. A luminaire placed four hundred millimeters from the wall projects every formwork seam as a high-contrast black line. In small rooms, pull the track back to a line between nine hundred and twelve hundred millimeters from the wall face. This geometry produces an incidence angle of roughly thirty degrees, known as the museum angle. The beam flattens aggregate imperfections behind two-dimensional pieces.
Light fixtures need narrow-to-medium interchangeable beam spreads. A twenty-four-degree reflector pinpoints an artwork without flooding the background concrete with stray photons. Control the perimeter of the beam with honey-comb louvers or cross-blade snoots. Stray beam edges falling across a concrete surface create soft gray halos that compete with clean frame edges.
| Beam spread | Standoff distance | Target work size | Effect on concrete surface |
|---|---|---|---|
| 12 degrees | 1400 mm | Up to 400 mm square | Isolated focal spot, leaves surrounding matrix dark |
| 24 degrees | 1000 mm | Up to 800 mm square | Balanced pool, minimal ambient wash across seams |
| 36 degrees | 900 mm | Up to 1200 mm square | Wide wash, highlights surface grain and pour lines |
Color temperature alters concrete tone. Cool white light at 4000 Kelvin sharpens the modern edge of gray cement, but it turns oil paintings cold and sallow. Light at 2700 Kelvin warms the artwork, yet turns neutral gray concrete into a muddy yellowish slate. The balance point for exhibition concrete sits at 3000 Kelvin with a color rendering index of 95 or higher. This band keeps red pigments truthful while leaving the raw concrete cold enough to read as neutral structural mass.
Preserving wall integrity through multiple shows
Every exhibition leaves small scars. Handling artwork, moving vitrines, and minor collisions leave black rubber marks, gouges, and grease spots. Maintenance protocols for unsealed or breathable concrete must avoid water washing that leaves salt rings.
Scuff marks from rubber ladders or shoe soles yield to chemical-free dry erasers. Use vulcanized natural rubber sponges designed for museum conservators. Wipe in straight, gentle strokes. Do not rub in circles; circular motions polish the microscopic aggregate peaks, creating a shiny patch that shows up under side light.
Fill obsolete anchor holes with a mineral-based restoration mortar. Hydraulic lime mixed with fine ground silica and white Portland cement allows for custom color matching. Mix dry pigment powders into the dry base before adding distilled water. Match the cured color, not the wet color. Mortar dries two shades lighter than the paste appears during mixing.
Filling a retired mounting hole
- Core isolation: Remove the mechanical anchor if possible. If an anchor core cannot come out without face spalling, drive the anchor body eight millimeters below the face line using a pin punch.
- Wetting the hole: Moisten the hole walls with a drop of demineralized water applied from a syringe. Dry concrete pulls water out of repair mortar too fast, which leads to shrinkage cracks around the plug.
- Layered packing: Pack the mixed mineral repair paste into the hole using a narrow flat spatula. Compress the paste firmly to drive out air pockets. Fill to one millimeter proud of the surrounding surface.
- Surface profiling: Allow the patch to firm for forty-five minutes. Shave the raised mortar flat with a sharp chisel held flat against the wall plane. Tap the patch with a stiff hog-bristle brush to duplicate the surrounding CSP texture.
If deep grease stains penetrate the pores, use a poultice. Mix attapulgite clay powder with reagent-grade acetone into a paste like peanut butter. Apply a six-millimeter layer over the stain. Cover the poultice with polyethylene film taped down for twelve hours. As the acetone evaporates through the clay, it draws the oil upward out of the concrete matrix into the poultice powder. Brush the dried powder off into a waste container.
Common mistakes
Galleries often treat concrete like drywall. This produces expensive repairs down the road.
- Using standard spackle or gypsum-based drywall joint compound to fill holes. Gypsum turns chalky white against gray concrete and flakes out within six months.
- Cleaning wall surfaces with acidic tile cleaners. Acid dissolves the free lime in Portland cement instantly, etching rough white streaks down the wall.
- Relying on adhesive foam mounting tape. Foam tape adheres strongly to micro-pores. Removing it tears the outer cement skin off the wall, leaving visible craters.
- Placing floor wash fixtures right at the base of the wall. Uplighting catches every trowel mark, minor buckle, and imperfection in the pour.
- Using iron screws directly in raw concrete without coatings. Atmospheric humidity causes internal screw corrosion, which results in rust stains blooming across the wall surface.
Next steps
Begin by measuring the surface profile of your current walls. Purchase a set of plastic ICRI concrete surface profile comparator chips to verify the texture grade. Check current sound decay times inside the room using an acoustic measurement app on a calibrated microphone.
Plan out mounting bands. If hardware must penetrate the wall, pick an internal-thread anchor system and buy the matching installation bits. Establish a stock of color-matched repair mortar mixed from Portland cement, gray aggregate sand, and powdered lime. Test patch recipes on an unseen corner or a sample casting block before working on primary sightline walls.
For installations carrying extreme loads over two hundred kilograms, or when cutting chases into older existing slabs, retain a structural engineer to inspect the wall reinforcement. Review fixture schedules to keep beam spreads between twelve and twenty-four degrees on primary focus walls.