 Formist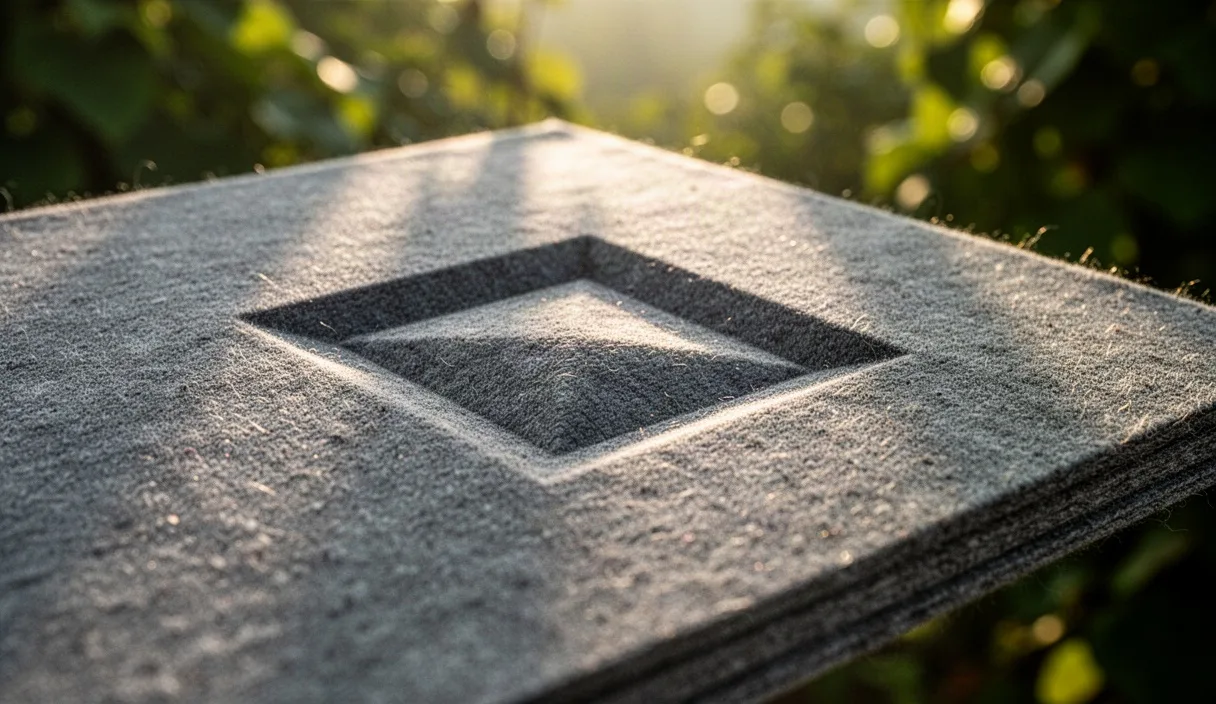

Blind debossing relies entirely on light and shadow. The process depresses the paper surface without ink or foil. On heavy card, the relief depends on caliper, fiber structure, and tool geometry. Precision in the specification file determines whether the impression holds sharp lines or crushes the sheet structure.
Heavy cards behave differently than lightweight text papers under tonnage. Card stocks between 400 gsm and 900 gsm resist deformation. The press operator balances die penetration with fiber resistance. Clear mechanical instructions prevent ruptured fibers, flat contours, and unwanted marks on the reverse side of the stock.
Matching paper fiber length to stamp depth
Paper fiber length dictates how far the card stretches before it fractures. Cotton fibers are long and supple. Wood pulp fibers are shorter and stiffer. A 600 gsm cotton sheet accepts a deeper relief than a 600 gsm wood pulp board. The die depth must reflect this physical threshold.
Cotton stock tolerates depths up to 0.65 mm without surface micro-tears. Bleached chemical wood pulp tolerates depths between 0.25 mm and 0.38 mm under equivalent pressure. Recycled board contains fragmented fibers from previous pulping cycles. Its tensile limit is lower, requiring shallow deboss depths between 0.18 mm and 0.28 mm.
Grain direction alters die penetration across the layout. Paper bends easily parallel to the grain. It resists displacement across the grain. Die elements crossing the grain require lower stamp depths to prevent localized creasing. Running the long axis of fine debossed lines parallel to the grain direction yields a uniform floor.
| Substrate Type | Typical Weight | Tensile Behavior | Recommended Die Depth |
|---|---|---|---|
| Cotton rag | 600 gsm | High elasticity, long fibers | 0.45 mm to 0.65 mm |
| Virgin chemical pulp | 450 gsm | Medium elasticity, rigid matrix | 0.25 mm to 0.38 mm |
| Mechanical wood board | 500 gsm | Low flexibility, short fibers | 0.20 mm to 0.30 mm |
| Recycled industrial board | 700 gsm | Brittle, short fiber network | 0.18 mm to 0.28 mm |
Measure your card caliper with a digital micrometer before cutting metal. Grammage alone does not communicate bulk. A high-bulk 400 gsm board can measure 0.72 mm thick, while a compressed 400 gsm board measures 0.48 mm. Base the maximum cutting depth on the micrometer reading, not the listed gsm value.
Vector path setup for metal die routing
Computer numerical control, or CNC, milling tools cut the debossing dies from brass or magnesium blocks. The spinning rotary cutter cannot enter angles narrower than its own radius. Your vector artwork must account for these mechanical tool limits. Sharp vector points in digital software round off during machining if you do not plan for the cutter diameter.
Set all strokes as outlines before sending vector data to the die maker. Open paths generate cutting errors on multi-axis engraving heads. Join every endpoint into a closed compound path. Inspect the file in outline preview mode to catch duplicate nodes and intersecting paths. Small overlapping loops force the CNC head to pause, which leaves cutter dwell marks in the finished cavity.
Fine typographic details need explicit width limits. Brass dies accommodate finer details than magnesium because brass is denser and permits slower, cleaner cuts with micro-cutters. Magnesium works for coarse details and short print runs under 3,000 impressions.
- Minimum positive line weight for brass: 0.22 mm
- Minimum positive line weight for magnesium: 0.35 mm
- Minimum negative space between parallel lines: 0.30 mm
- Internal node clean-up threshold: 0.05 mm radius minimum
Supply artwork at an exact scale of 1:1. Do not use stroke weights to represent visual volume. Expand all lines into fills with distinct outer boundaries. Group elements by intended depth if the job calls for a multi-level die. Label each depth tier in vector layer metadata with exact measurements in millimeters.
Selecting bevel angles to avoid paper tears
The bevel is the angled transition wall between the top surface of the card and the recessed cavity floor. A vertical ninety-degree edge shears through the card stock like a knife. A sloping bevel pushes the paper fibers down gradually, compressing them into the mold. Correct bevel angles prevent splitting along the perimeter of the impression.
Bevel selection depends on substrate thickness and surface brittleness. Coated boards crack more easily than uncoated papers because the mineral coating lacks flexibility. Uncoated, long-fiber papers tolerate steeper walls. For dry, calendared paper surfaces, apply a shallower angle to preserve the surface finish.
- Thirty-degree bevel: Use for deep impressions on elastic cotton cards over 500 gsm.
- Forty-five-degree bevel: The baseline choice for standard wood pulp boards between 350 gsm and 500 gsm.
- Sixty-degree bevel: Use for brittle, clay-coated card stocks to prevent clay crust flaking.
Draft angles also affect release from the press. As tonnage releases, the card must lift cleanly from the cavity. A vertical wall creates vacuum friction between the die metal and the card face. This friction scuffs fine linework. A bevel of at least thirty-five degrees guarantees instant physical separation upon platen opening.
Inform the engraver whether the bevel should be cut internally or externally. An internal bevel reduces the face dimension of the artwork at the base of the cavity. An external bevel widens the visual footprint of the line on the sheet surface. Specifying an internal bevel preserves the external typographic proportions drawn in the artwork.
Preventing visible marks on the reverse sheet face
Blind debossing displaces paper mass. The displaced volume must go somewhere. On thin stock, an equal and opposite bump forms on the back. On heavy card, correct counter-force die setup compresses the internal fiber structure, minimizing the protrusion on the reverse face.
Use a flat metal counter-die rather than a molded male counter if the back must remain clean. A resilient counter material, like an epoxy board, forces the paper into the female cavity without pushing through the reverse plane. Adjust press pressure until the card core densifies within the cavity without creating a secondary emboss on the bottom sheet.
Duplexing offers a reliable mechanical solution for projects demanding total flatness on the reverse side. The press team debosses the top card sheet as an individual press pass. A bindery laminates the debossed sheet to a flat backing sheet after stamping. This technique fully conceals the reverse impression, allowing heavy debossing depths exceeding 0.70 mm.
- Stamp the debossed design on an individual card stock caliper between 270 gsm and 350 gsm.
- Apply a low-water, pH-neutral adhesive uniformly across the reverse face using a roller coater.
- Mount the stamped card to a second card layer of equal or greater density.
- Keep the laminated sheets under weighted drying boards for twelve hours to prevent warping.
If post-lamination is outside project scope, select a high-density, multi-ply pasted board. Pasted boards contain internal glue lines between their plies. These glue lines act as shock absorbers. The top plies deform beneath the metal die while the lower plies maintain dimensional stability.
Evaluating press proofs for crisp contours
Review the first pull from the press under controlled lighting. Position a single directional light source at an angle of twenty degrees to the sheet surface. Grazing light casts sharp shadows along the debossed bevels. Overhead fluorescent diffusers wash out the recess, making contour evaluation inaccurate.
Inspect the edges with a ten-power optical loupe. Look for fiber tearing along the perimeter of narrow stems. Check the transitions where angled lines meet. If the paper surface shows chalky, white fracturing, the press tonnage is too high, or the bevel angle is too steep for the stock. If the corners appear rounded and shallow, the dwell time is too short.
Dwell time is the fraction of a second the heated die rests against the paper at maximum pressure. Increasing dwell time by 0.3 seconds lets the card fibers relax into the die shape. Heat assists this plastic deformation. For heavy uncoated boards, set the die temperature between 35 and 50 degrees Celsius. This low heat irons the floor of the deboss without scorching the paper surface.
| Visual Defect | Physical Cause | Corrective Action |
|---|---|---|
| Feathered, soft borders | Insufficient tonnage or dull die | Increase press pressure or recut die in brass |
| Cracked surface fibers | Excessive depth or sharp bevel | Back off impression depth; recut with forty-five-degree bevel |
| Floor surface mottling | Uneven counter-force packing | Replace paper packing with cast polyurethane counter |
| Bruised paper gloss | Excessive die plate temperature | Reduce heat below 40 degrees Celsius |
| Reverse-side ghosting | Hard male counter penetrating card | Switch to flat resilient counter or duplex after stamping |
Touch the floor of the recess with a clean fingertip. The compressed area must feel dense and smooth compared to the raw stock. Inconsistent texture across large solids reveals uneven make-ready packing beneath the press platen. Require the press operator to shim the die from behind with tissue strips to balance the impression across the entire sheet.
Common mistakes
Specifying vector line weights under 0.20 mm causes die chatter. The milling cutter skips over very thin lines, leaving intermittent metal ridges that cut the paper unevenly.
Assuming that high paper bulk allows infinite deboss depth is incorrect. Bulk represents air trapped between fibers. Compressing that air reduces card thickness, but once the card reaches full density, additional pressure fractures the fibers instead of deepening the stamp.
Relying on digital PDF soft proofs hides mechanical die physics. A digital render displays clean vector geometry without showing bevel drag, fiber tearing, or reverse shadow marks. Physical make-ready proofs on the production stock remain essential.
Omitting grain direction from production work orders causes variable relief across press runs. Sheets cut against the grain split more easily along deep vertical strokes.
Preparing the production specification
Gather the exact paper specifications before cutting dies. Secure full-caliper sheet samples directly from the paper mill distributor. Use these physical samples to confirm caliper, moisture content, and ply structure.
Document the following mechanical details on your print production order:
- Substrate brand name, grammage, measured micrometer caliper, and grain direction.
- Die alloy material, specifying machined brass for high detail or etched magnesium for loose line work.
- Target cavity depth expressed in hundredths of a millimeter.
- Specified bevel angle in degrees, accompanied by an internal bevel direction callout.
- Platen heating parameters, limited to a range between 35 and 50 degrees Celsius.
- Duplexing requirements if the reverse face must remain unmarked.
Request an unprinted press proof on the specified sheet before the production run begins. Inspect this pull with a loupe under raking light. Adjust impression tonnage, dwell time, and counter-die density at the press before releasing the run for bindery finishing.